
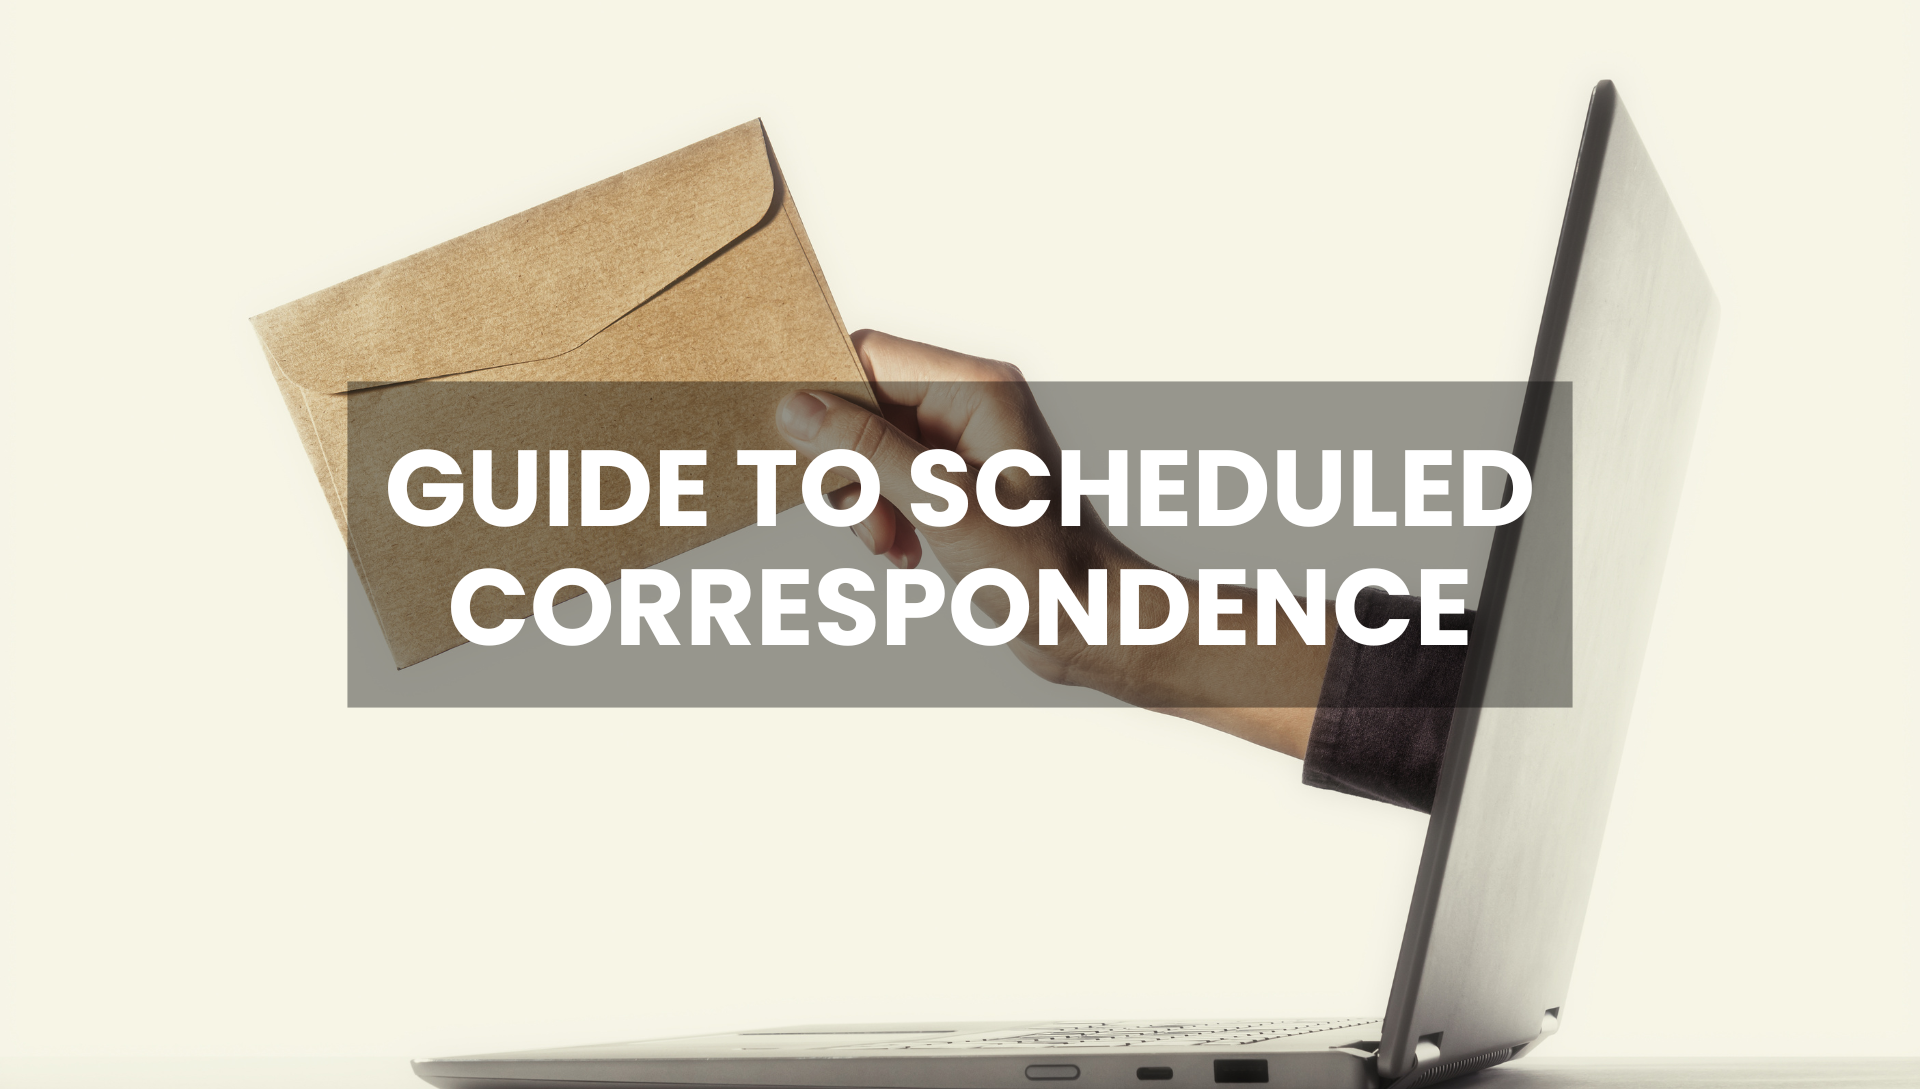
Stop Typing, Start Automating: A Guide to Homhero’s Scheduled Correspondence

Stop Typing, Start Automating: A Guide to Homhero’s Scheduled Correspondence
As a property manager, how much of your day is spent sending the same emails?
- “Here’s your booking confirmation…”
- “Here are your check-in instructions…”
- “Just checking in, how is your stay?…”
- “Thanks for staying, please leave us a review…”
This essential communication is a cornerstone of great guest service, but it’s also repetitive, time-consuming, and prone to human error. What if you could automate everything, ensuring that every guest, owner, and cleaner receives the exact information they need, right when they need it?
In our recent webinar, ‘Complete Guide to Correspondence,’ our Training & Support Specialist, Tatiana, demonstrated the most powerful time-saving tool in your Homhero arsenal: Scheduled Correspondence.
This feature moves you from manually sending templates to building a ‘set it and forget it’ automation engine. Let’s break down the five key parts of creating a perfect automated schedule.
You can find this feature by navigating to Correspondence > Schedules in your Homhero account.
1. The ‘What’: Your Message Template
Every automation needs to know what to send. This is your Email Template. This tab is where you’ll write the actual content of the message, whether it’s an email, SMS, or OTA message.
The key to personalization here is using Merge Fields. These are placeholders (like {{first_name}} or {{listing.name}}) that automatically pull in the specific details for that exact booking. This is how you send a mass email that feels like a personal one.
Pro-Tip: You can even use Merge Fields for your property-specific Custom Fields. Create a custom field for ‘Wifi Password’ or ‘Gate Code’ on each property listing, and your pre-arrival email will automatically pull the correct code for the correct property, every time.
2. The ‘Who’ & ‘How’: General Settings
This first tab is where you define the core purpose of your schedule.
- Schedule Type: How is this message being sent? You can enable Email, SMS, or OTA Message. (Remember, OTA messaging is crucial for communicating with guests from platforms like Airbnb and Booking.com directly through their native messaging system).
- Send To: Who is this message for? You can target Guests, Owners, Cleaners, or even internal Admin staff. This is perfect for schedules like ‘Notify Owner of New Booking’ or ‘Send Cleaning Brief to Cleaner.’
3. The ‘If’: Setting Your Filters
This is the most crucial part of the logic. Your schedule will only run IF the booking meets the conditions you set in the Filters tab. This gives you granular control over your communications.
Key filters include:
- Trigger per Reservation: What action kicks this off? The most common is ‘Reservation Created,’ but you can also trigger messages based on ‘Departure Date’ (great for review requests) or ‘Reservation Modified.’
- Reservation Status: You should almost always set this to ‘Confirmed’ to ensure you’re not sending check-in details for unconfirmed bookings.
- Booking Sources: Would you like a special welcome message for your direct bookings only? Or perhaps a different confirmation email for Airbnb vs. Vrbo? You can set that here.
- Listing Categories: You can even filter by property type. For example, you could send different pre-arrival instructions for your ‘Luxury’ properties versus your ‘Pet-Friendly’ properties.
4. The ‘When’: Defining Your Schedule
Finally, you need to tell Homhero when to send the message. This is handled in the Schedule tab.
This part is crucial for professionalism. As Tatiana pointed out in the webinar, you don’t want to send an owner a ‘New Booking’ SMS at 3 AM just because a guest booked online.
By setting an hour range (e.g., between 9:00 and 17:00), you’re instructing Homhero to send these messages only during your business hours. If a booking is made at night, the system will hold the message and send it first thing the next morning. Ensure that this is combined with the correct ‘if’ filter so that if a booking is made outside of these hours, the schedule will still be triggered the next day.
You can also set the frequency, such as ‘Every Day,’ ‘Every Hour,’ or only on specific days of the week (perfect for sending ‘Bin Day’ reminders to guests).
Start Automating Today
By combining these four elements – What (the template), Who/How (the general settings), If (the filters), and When (the schedule) – you can build a robust, intelligent, and professional communication workflow that saves you hours every week.
Start small. Pick one repetitive task – like sending a ‘Thank You & Review Request’ email one day after departure – and build a schedule for it. Once you see the time you get back, you’ll be able to automate everything.
Need a hand getting started? Our Knowledge Base provides step-by-step guides, or you can contact our support team for personalised guidance.
URL has been copied successfully!